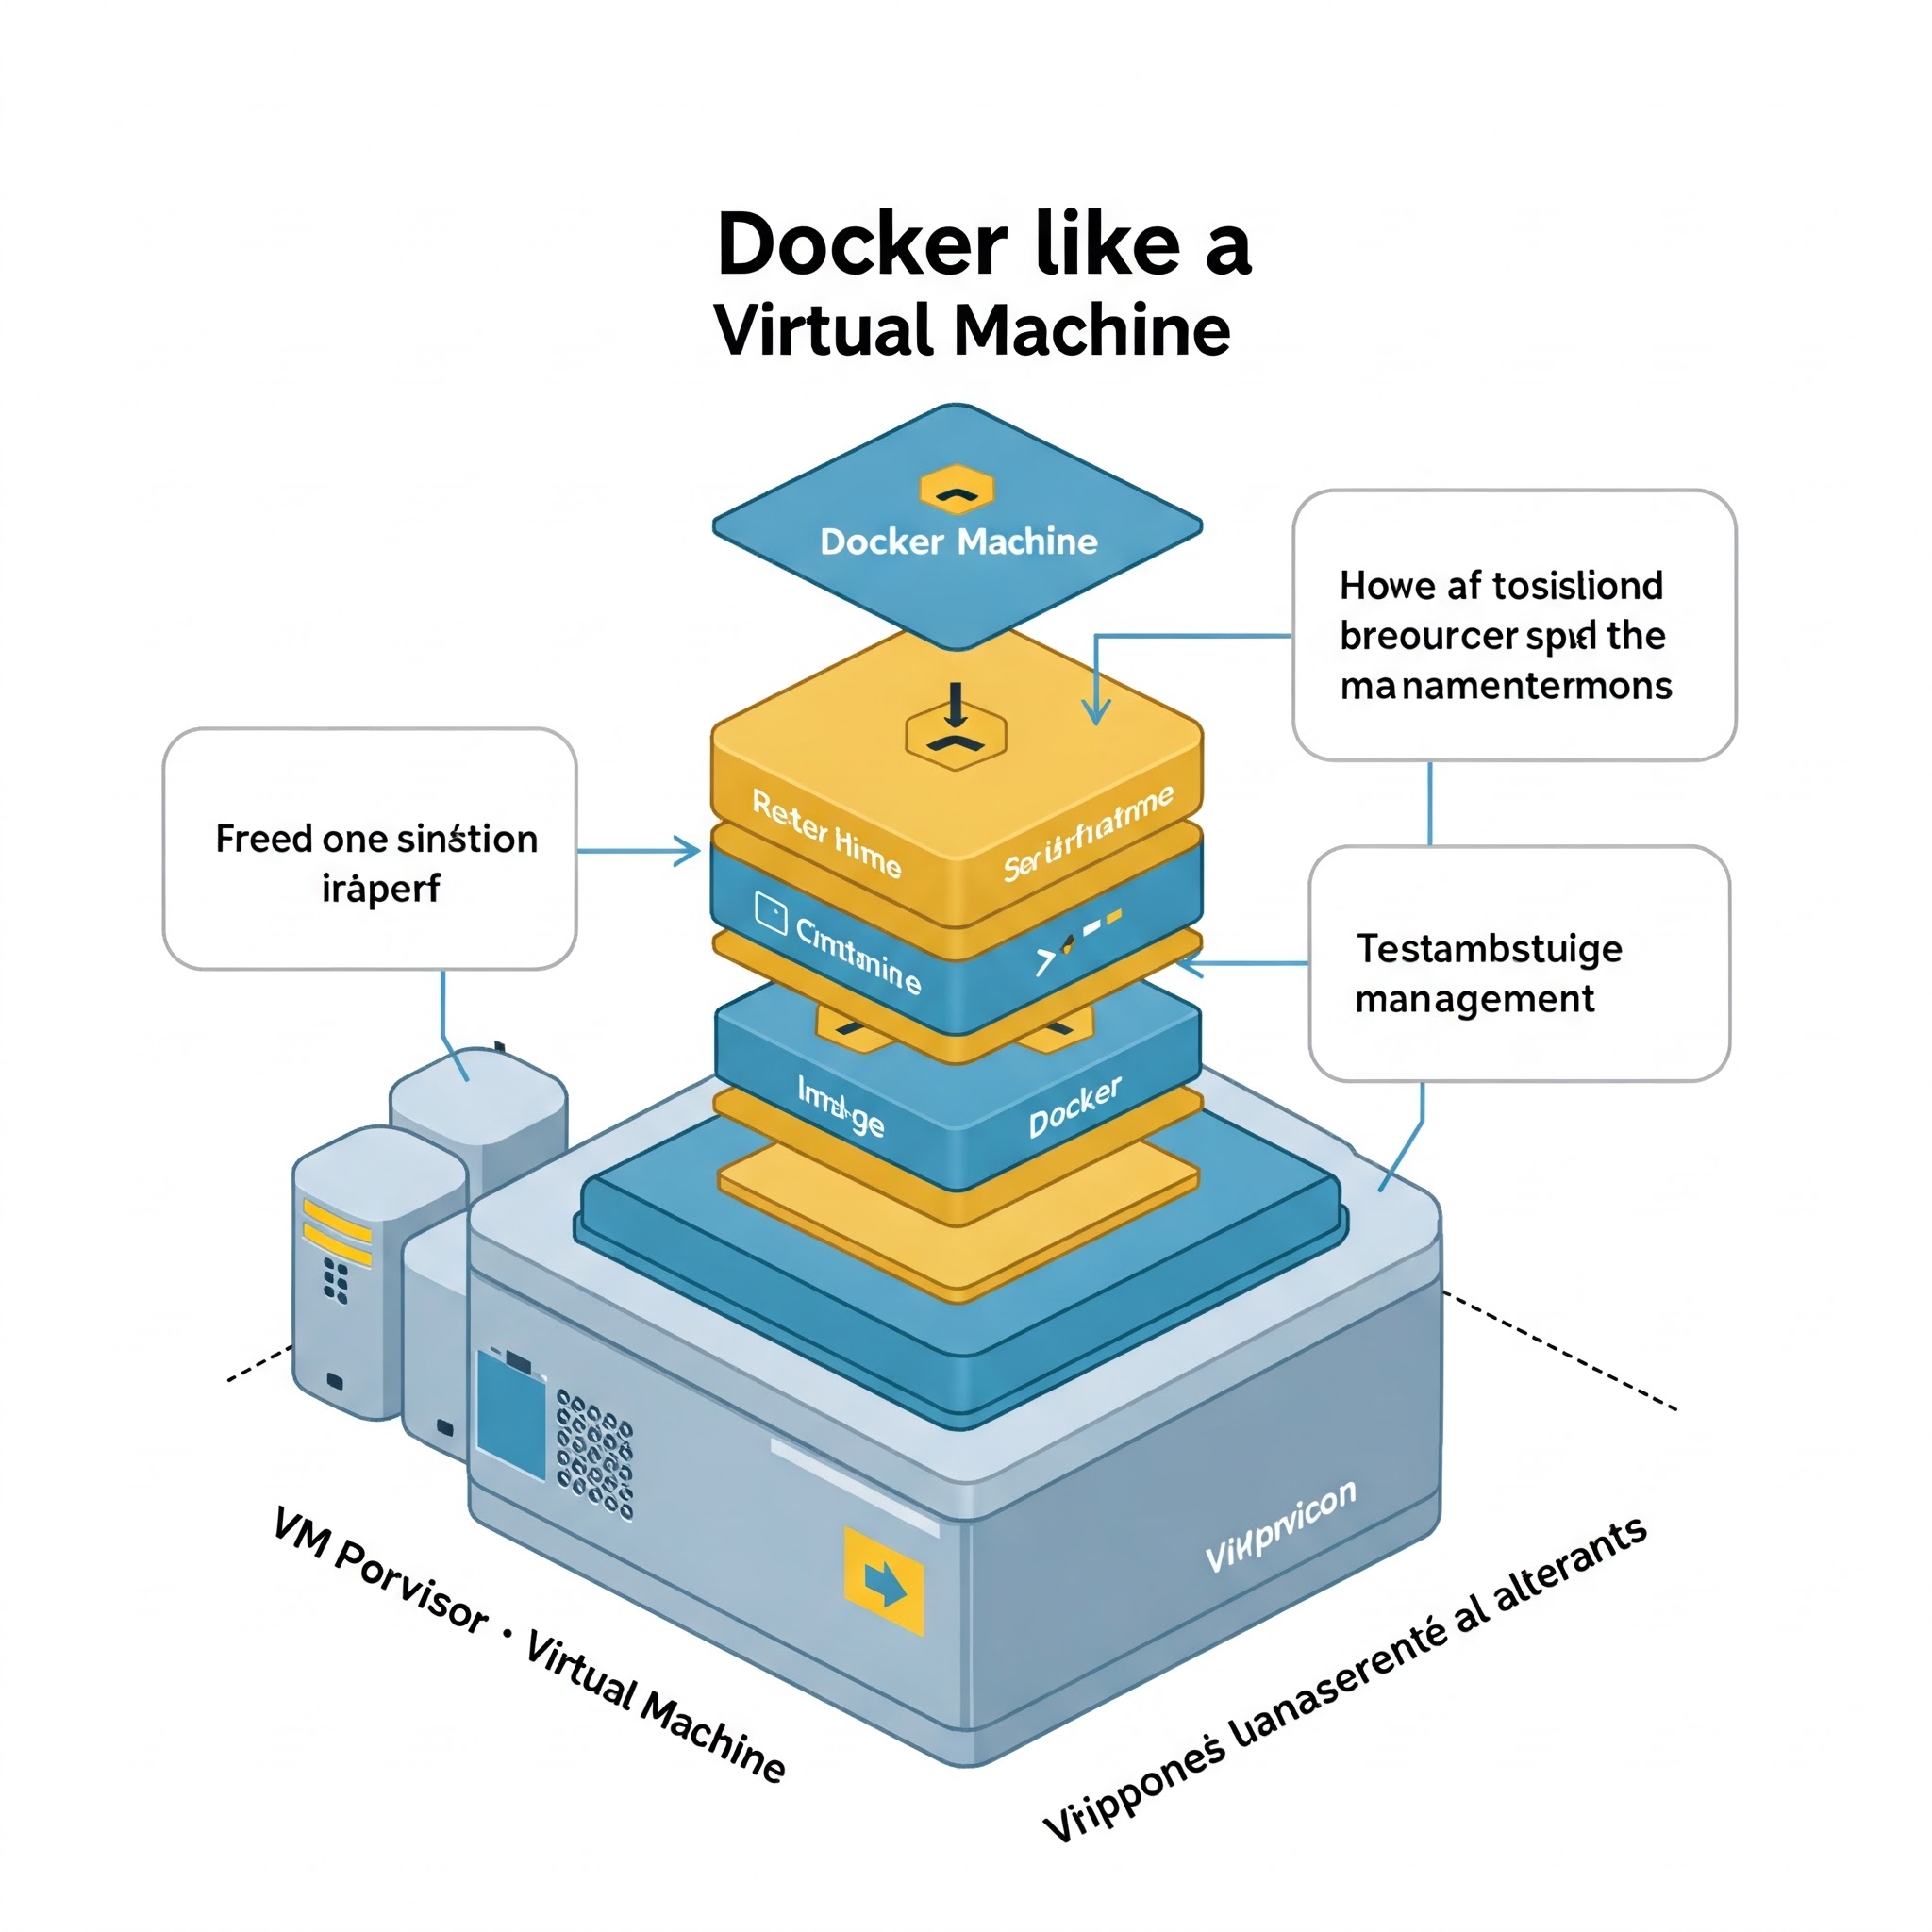
• MSPRZ↗︎-59.432%
  • CURR↗︎-41.3295%
  • SBEV↗︎-40.2129%
  • ADTX↗︎-39.8204%
  • HEPA↗︎-39.1534%
  • XPOF↗︎-38.4488%
  • ORGNW↗︎-38.4337%
  • NIXXW↗︎-36.9347%
  • SAIHW↗︎-36.8687%
  • STRO↗︎-35.192%
  • WKSP↗︎-34.819%
  • NAYA↗︎-33.7796%
  • SMXWW↗︎-33.4802%
  • KBSX↗︎-29.7297%
  • LZMH↗︎-29.0546%
  • BLNE↗︎-28.7072%
  • SPGC↗︎-28.5714%
  • CAPTW↗︎-28.2486%
  • STSSW↗︎-28.0612%
  • ALCYW↗︎-27.7778%
  • MSPRZ↘︎-59.432%
  • CURR↘︎-41.3295%
  • SBEV↘︎-40.2129%
  • ADTX↘︎-39.8204%
  • HEPA↘︎-39.1534%
  • XPOF↘︎-38.4488%
  • ORGNW↘︎-38.4337%
  • NIXXW↘︎-36.9347%
  • SAIHW↘︎-36.8687%
  • STRO↘︎-35.192%
  • WKSP↘︎-34.819%
  • NAYA↘︎-33.7796%
  • SMXWW↘︎-33.4802%
  • KBSX↘︎-29.7297%
  • LZMH↘︎-29.0546%
  • BLNE↘︎-28.7072%
  • SPGC↘︎-28.5714%
  • CAPTW↘︎-28.2486%
  • STSSW↘︎-28.0612%
  • ALCYW↘︎-27.7778%

Next.Js Countdown Component | Step By Step Guide

Next.Js Countdown Component | Step By Step Guide

In this article, we will walk you through the process of creating a countdown component using Next.js. You will learn step-by-step how to set up your environment, implement the countdown logic, and style your component for a visually appealing design. By the end, you'll have a fully functional countdown timer that you can easily integrate into your Next.js applications.

Published:

  • Introduction

    In this article, we will walk you through the process of creating a countdown component using Next.js. You will learn step-by-step how to set up your environment, implement the countdown logic, and style your component for a visually appealing design. By the end, you will have a fully functional countdown timer that you can easily integrate into your Next.js applications.

  • Setting Up Your Environment

    Before we start coding our countdown timer, we need to set up our development environment. Make sure you have Node.js installed on your machine, then you can create a new Next.js application using the following command in your terminal.

    npx create-next-app countdown-timer
  • Navigating to Your Project Folder

    Once your Next.js application is created, navigate into your project folder. This is where we will add our countdown component.

    cd countdown-timer
  • Creating the Countdown Component

    Next, we will create a new component for the countdown timer. Create a new file inside the components directory called CountdownTimer.js. This is where we will write the logic and layout for our countdown.

    mkdir components && touch components/CountdownTimer.js
  • Implementing Countdown Logic

    Inside CountdownTimer.js, we will use React state and effects to create the countdown timer's logic. We will use the useState and useEffect hooks to handle the countdown mechanism. Below is the structure we'll be implementing in this file.

    import { useEffect, useState } from 'react';
    
    const CountdownTimer = ({ targetDate }) => {
        const [timeLeft, setTimeLeft] = useState(0);
    
        useEffect(() => {
            const interval = setInterval(() => {
                const now = new Date().getTime();
                const distance = targetDate - now;
                setTimeLeft(distance);
    
                if (distance < 0) {
                    clearInterval(interval);
                    setTimeLeft(0);
                }
            }, 1000);
    
            return () => clearInterval(interval);
        }, [targetDate]);
    
        const formatTime = (time) => {
            const hours = Math.floor((time % (1000 * 60 * 60 * 24)) / (1000 * 60 * 60));
            const minutes = Math.floor((time % (1000 * 60 * 60)) / (1000 * 60));
            const seconds = Math.floor((time % (1000 * 60)) / 1000);
            return { hours, minutes, seconds };
        };
    
        const { hours, minutes, seconds } = formatTime(timeLeft);
    
        return (
            <div className="countdown">
                <h1>{`${hours}:${minutes}:${seconds}`}</h1>
            </div>
        );
    };
    
    export default CountdownTimer;
  • Integrating Countdown Component

    Now that we have created our countdown timer, we need to integrate it into our application. You can use the component in your pages like so, specifying a target date for the countdown.

    import CountdownTimer from '../components/CountdownTimer';
    
    const Home = () => {
        const targetDate = new Date('2023-12-31T23:59:59').getTime();
    
        return (
            <div>
                <h1>Countdown to New Year!</h1>
                <CountdownTimer targetDate={targetDate} />
            </div>
        );
    };
    
    export default Home;
  • Styling the Countdown Component

    To make the countdown visually appealing, we can add some CSS. Create a file called styles.module.css inside the styles directory, and add some styling rules for the countdown timer.

    .countdown {
        display: flex;
        justify-content: center;
        align-items: center;
        font-size: 2rem;
        color: #ffffff;
        background-color: #0070f3;
        padding: 20px;
        border-radius: 10px;
    }

Technology

Programming

Virtual Machine

Artificial Intelligence

Data Management

General

Gaming